
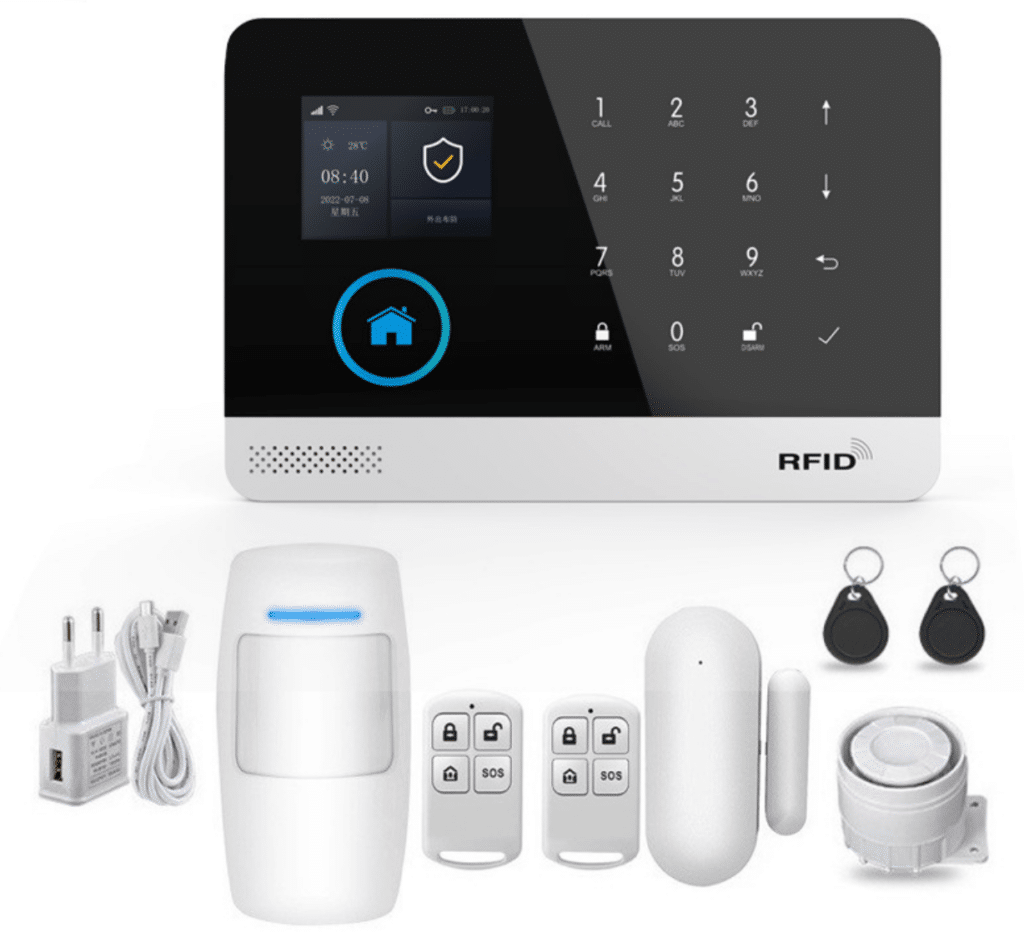
Introduction: Why the Control Panel Is the True Brain of Any Burglar Alarm System
After more than two decades advising alarm manufacturers, security distributors, and professional system integrators, one reality has become impossible to ignore—yet it is still frequently underestimated by DIY buyers and even some entry-level security vendors:
A burglar alarm system is only as dependable as its control panel.
Sensors, sirens, cameras, and mobile apps may dominate marketing conversations, but none of them decide anything. The alarm control panel is where raw signals are interpreted, verified, prioritized, and ultimately transformed into action. It determines when to alarm, when to delay, when to escalate, and—just as critically—when to remain silent.
In recent years, demand for DIY home alarm system control panels has expanded rapidly. This growth is not limited to individual homeowners. Property developers, residential security resellers, and bulk alarm product buyers are increasingly turning to DIY architectures as they face rising labor costs, tighter installation timelines, and pressure to preserve acceptable security standards.
Advances in wireless reliability, embedded processing power, and firmware maturity have made DIY alarm platforms commercially viable. However, viability only exists when these systems are designed and deployed with professional discipline, not consumer convenience alone.
This guide is not written for casual smart-home users or hobbyists experimenting with automation.
It is written for serious security decision-makers who need a clear, unambiguous understanding of:
- What separates a functional DIY alarm control panel from a structural security liability
- How to design a DIY burglar alarm system that behaves like a professionally installed system under real intrusion stress
- Where most DIY alarm projects fail during actual burglaries—and why those failures are predictable
- How to properly evaluate, configure, harden, and scale a DIY home alarm system control panel for long-term, real-world intrusion protection
If your objective is reliable burglary detection, disciplined alarm behavior, and operational stability—not novelty—this guide is written for you.
1. What a DIY Home Alarm System Control Panel Actually Does (Beyond the Marketing)
A DIY home alarm system control panel is not simply a device that “connects sensors.”
In a properly engineered burglar alarm system, the control panel performs a set of mission-critical security functions. Each of these functions directly affects whether the system resists intrusion—or quietly fails.
1.1 Signal Aggregation and Validation
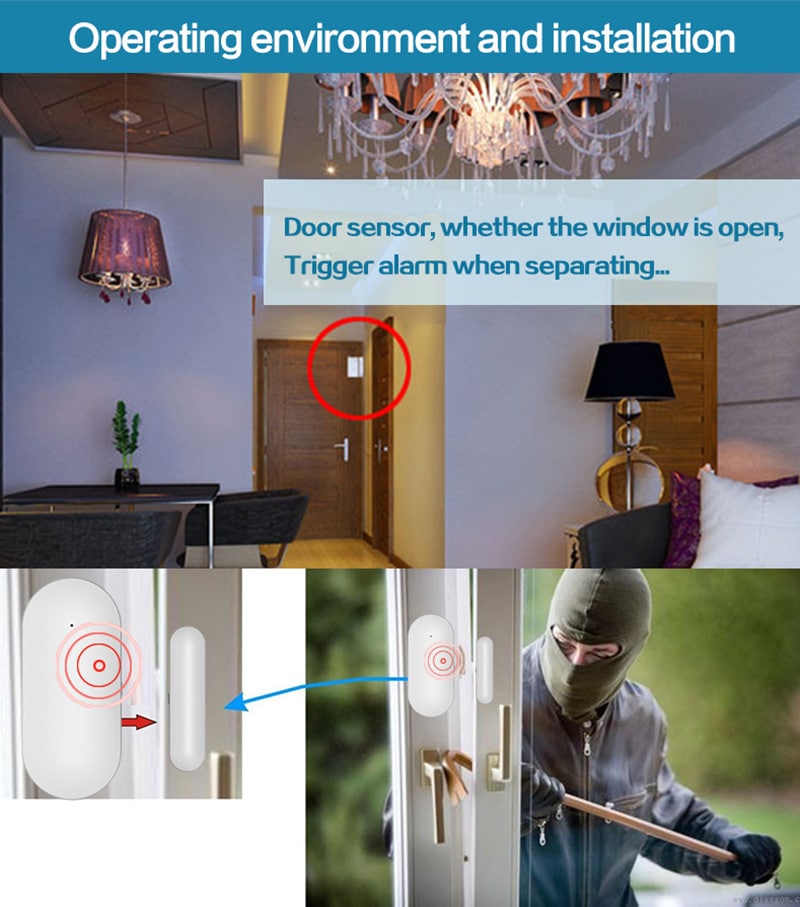
Every door contact, PIR motion detector, glass-break sensor, vibration sensor, or panic button ultimately reports to the control panel. The panel must be capable of:
- Authenticating device identity and maintaining pairing integrity
- Supervising device presence through defined polling or heartbeat intervals
- Filtering environmental noise, RF interference, and transient triggers
- Applying zone logic, delay rules, and arming states consistently
- Determining whether an event qualifies as a legitimate intrusion attempt
Consumer-grade DIY panels often treat any trigger as an alarm condition. Professional-grade alarm logic evaluates sequence, timing, zone priority, and system state before committing to an alarm decision.
1.2 Alarm Logic Execution
The control panel is responsible for executing all alarm logic, including:
- When and how local sirens are activated
- Which notifications are sent, to which users or monitoring endpoints
- Whether escalation protocols are triggered
- Whether an alarm should be delayed, verified, suppressed, or confirmed
This logic is what distinguishes usable burglary protection from a system that generates nuisance alarms until users begin ignoring it.
1.3 System Supervision and Self-Monitoring
A serious DIY home alarm system control panel must continuously supervise the health of the system, including:
- Sensor connectivity and signal integrity
- Battery voltage levels and discharge trends
- Primary and backup communication paths
- AC power presence and failure detection
- Cabinet tamper events and internal interference
Unsupervised systems do not fail loudly. They fail silently—and are often discovered only after a burglary has already occurred.
1.4 Communication and Reporting
Modern DIY alarm control panels must support multi-path alarm reporting, typically including:
- Ethernet or LAN
- Wi-Fi
- Cellular backup (LTE or 5G)
Single-path communication is a known and well-documented vulnerability. Experienced burglars do not “hack” alarm systems—they interrupt communications.
1.5 Security Policy Enforcement
All security policies originate at the control panel level, including:
- Arming modes such as Away, Stay, and Night
- User permissions and credential limitations
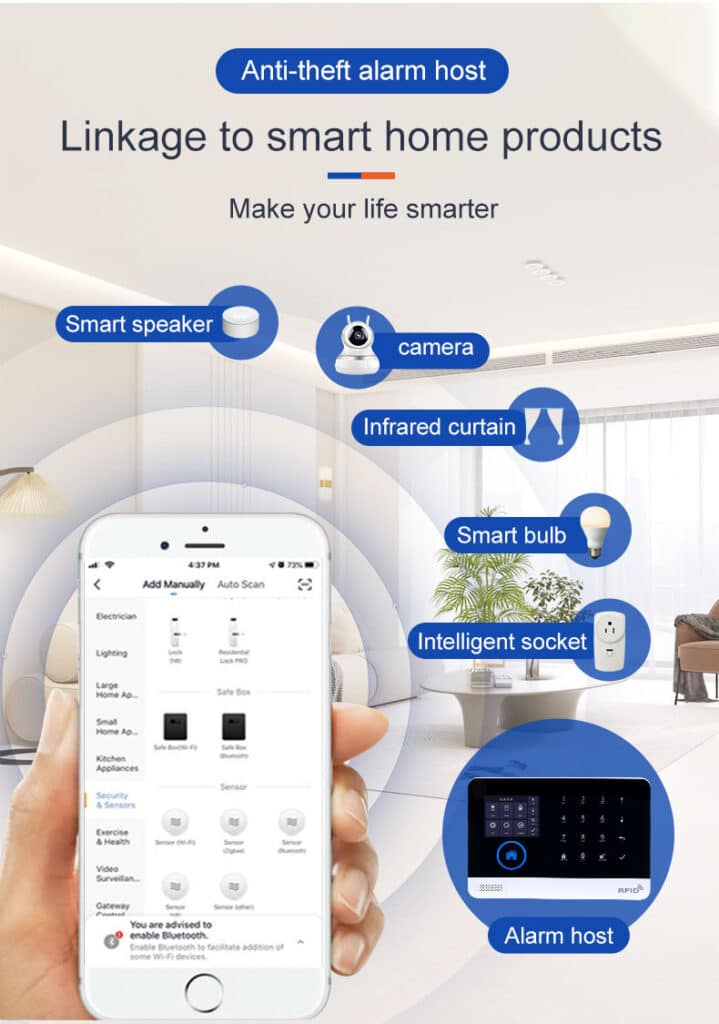
- Automation triggers and conditional logic
- Alarm reporting rules and escalation behavior
If the control panel is compromised, every connected sensor and peripheral becomes irrelevant.
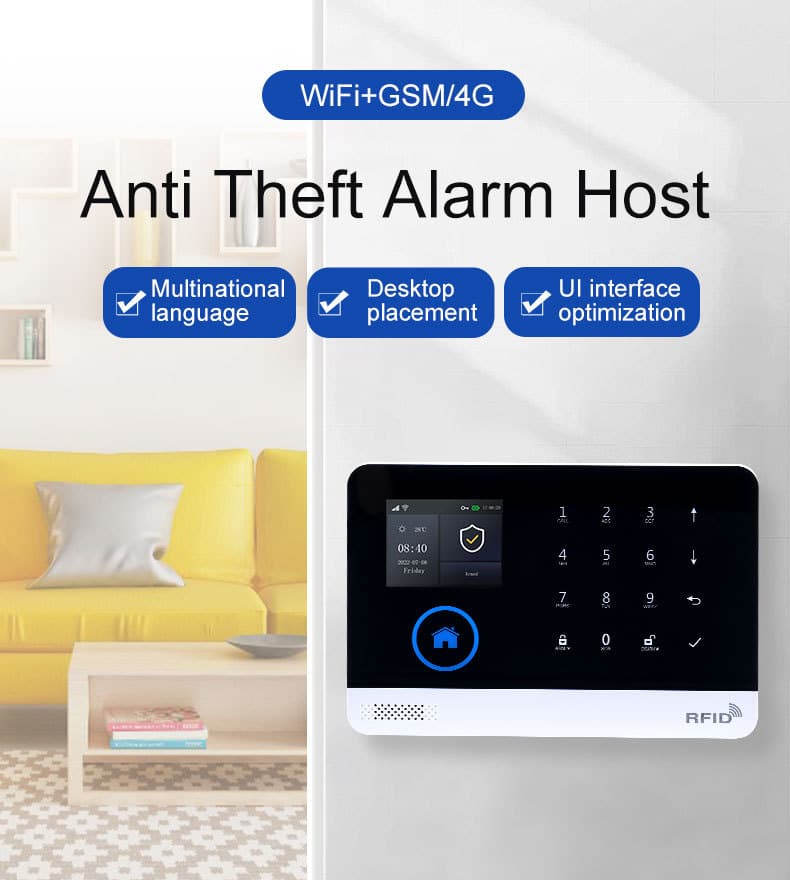
2. Why DIY Alarm Control Panels Fail in the Real World
Through consulting work and post-incident analysis, failed DIY alarm deployments tend to fail for the same structural reasons.
2.1 Consumer-Grade Panels Disguised as Security Systems
Many DIY products are designed primarily for ease of onboarding, not burglary resistance. Common warning signs include:
- No supervision polling or heartbeat verification
- Absence of enclosure tamper detection
- Complete dependency on cloud services
- Weak, undocumented, or proprietary encryption
- Firmware update processes without rollback or version control
These systems often appear functional during normal operation—until reliability actually matters.
2.2 Poor Zone Design and Oversimplification
A frequent DIY mistake is grouping unrelated sensors into a single zone for convenience. This eliminates meaningful intrusion interpretation and prevents intelligent response logic.
2.3 Inadequate Power Architecture
A control panel without a properly engineered backup power strategy is not a burglar alarm system—it is merely a notification appliance dependent on grid stability.
2.4 Single Point of Communication Failure
Wi-Fi-only alarm panels are trivial to neutralize.
Professional burglars do not attack encryption; they remove connectivity.
3. Core Architecture of a Proper DIY Home Alarm System Control Panel
To achieve professional-level performance, architecture matters far more than features.
3.1 Wired vs. Wireless vs. Hybrid Panels
- Wireless panels offer flexibility but require robust supervision logic
- Wired panels offer reliability but reduce retrofit practicality
- Hybrid panels balance reliability, flexibility, and long-term scalability
For most residential burglary protection scenarios, hybrid DIY control panels offer the strongest risk-to-cost profile.
3.2 Zone-Based System Design (Expanded)
Zones should be designed around intrusion behavior, not floor plans alone:
- Instant perimeter zones
- Interior delay zones
- 24-hour emergency zones
- Silent duress zones
Proper zoning allows the control panel to distinguish authorized movement from hostile intrusion.
3.3 Redundancy by Design
Redundancy is not optional. A professional DIY control panel must include:
- Primary and secondary power sources
- Primary and backup communication paths
- Supervision timers for every enrolled device
- Non-volatile event and fault logging
4. Step-by-Step: Building a Professional-Grade DIY Home Alarm System Control Panel
This is a field-tested deployment workflow—not a marketing checklist.
Step 1: Define the Intrusion Threat Model
Explicitly identify:
- Likely entry points
- Occupancy patterns
- Required response speed
- Acceptable false alarm tolerance
Security design without threat modeling is guesswork.
Step 2: Select a Control Panel Platform
Evaluate platforms based on:
- Proven firmware lifecycle management
- Local autonomy during cloud outages
- Support for both wired and wireless zones
- Depth of supervision and reporting granularity
Avoid panels that cannot operate independently of cloud services.
Step 3: Design Zone Logic
Assign zones based on behavioral function:
- Instant perimeter zones
- Entry/exit delay zones
- Interior follow-up zones
- Silent alert or duress zones
Step 4: Implement Power Backup (Expanded)
Minimum professional standards include:
- 12–24 hours of standby under full supervision load
- Battery health monitoring and reporting
- Controlled low-voltage cutoff behavior
- Surge and transient protection
Step 5: Configure Multi-Path Communication
At least two independent communication paths must be configured and actively tested under failure conditions.
Step 6: Harden the Control Panel
- Enable enclosure tamper detection
- Secure the mounting location
- Restrict firmware and configuration access
- Disable unused interfaces and radios
Step 7: Test Failure Scenarios
Actively simulate:
- AC power loss
- Network disruption
- Sensor dropout
- Physical tampering
A system that has not been stress-tested will fail in production.
5. Security Hardening: Making DIY Panels Resistant to Real Intruders
Professional intruders exploit predictability and weak assumptions.
5.1 Physical Protection
Control panels must be:
- Concealed from casual discovery
- Tamper-protected
- Installed away from primary entry paths
5.2 Logical Protection
- Role-based user permissions
- Encrypted device enrollment
- Comprehensive event audit trails
5.3 Operational Discipline
- Regular firmware audit schedules
- Defined battery replacement cycles
- Periodic alarm response drills
6. Scalability: Designing DIY Panels for Bulk Deployment
For alarm product buyers and residential security resellers, scalability determines profitability.
Key requirements include:
- Remote provisioning and configuration
- Repeatable zone and policy templates
- Firmware version control
- Clear, maintainable technical documentation
A scalable DIY home alarm system control panel becomes a deployable security product—not a one-off experiment.
7. Compliance, Liability, and False Alarm Risk
False alarms erode trust, increase operating costs, and invite regulatory scrutiny.
A professional DIY control panel must support:
- Intelligent entry and exit timing logic
- Alarm confirmation workflows
- User education and escalation rules
Security systems are not judged by how often they alarm—but by how accurately they alarm.
8. When DIY Makes Sense—and When It Does Not
DIY alarm control panels are effective when:
- Labor costs dominate project economics
- Deployment speed is critical
- Customization is required
- Users understand alarm discipline and responsibility
DIY is not appropriate when:
- Mandatory life-safety certification is required
- Strict regulatory approvals apply
- End users cannot manage system accountability
Conclusion: A DIY Home Alarm System Control Panel Is a Security Decision, Not a Gadget
A properly designed DIY home alarm system control panel is not a compromise—it is a deliberate security strategy.
When engineered correctly, it delivers:
- Reliable burglary detection
- Predictable and disciplined alarm behavior
- Transparent system health visibility
- Long-term deployment scalability
When engineered poorly, it creates a false sense of security—which is the most dangerous outcome of all.
For professionals evaluating DIY alarm control panel solutions for residential projects, bulk procurement, or scalable deployment, focus less on branding and more on architecture, logic, supervision, and failure resilience.
That is where real burglar alarm protection lives.