
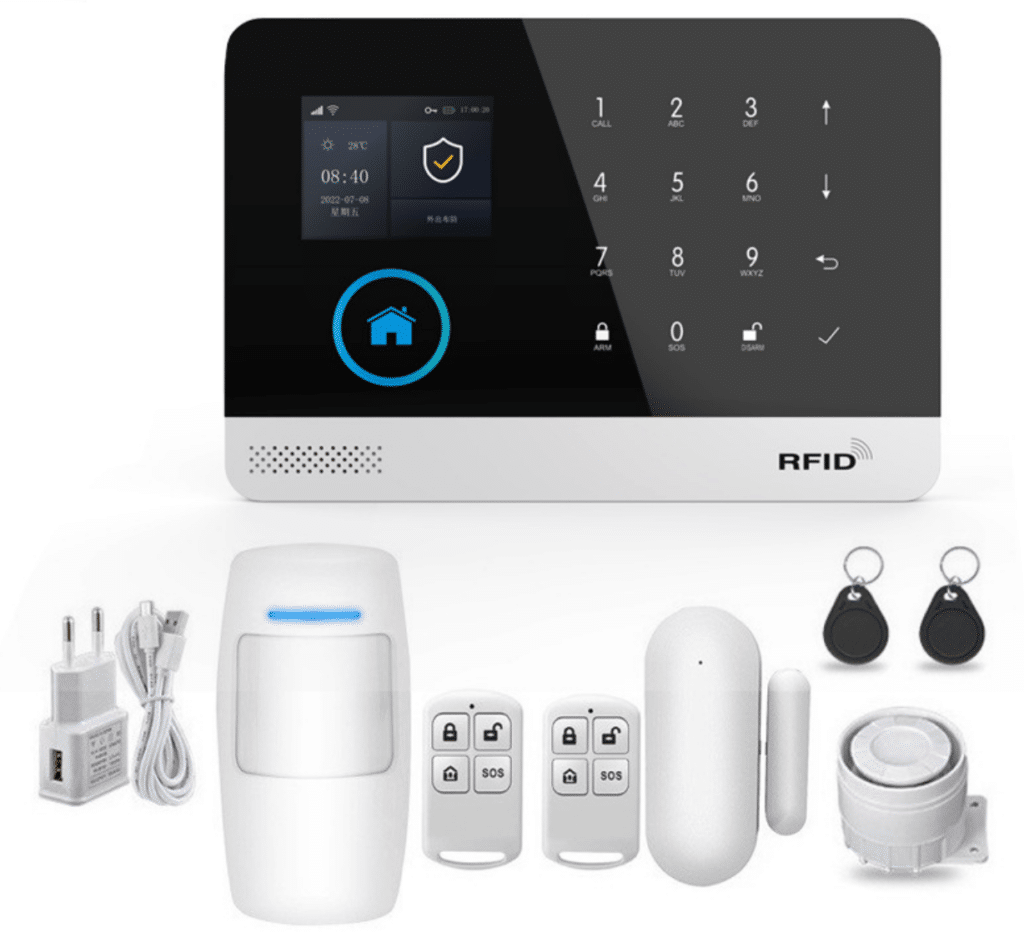
In today’s rapidly evolving residential security landscape, bulk purchasers, system integrators, and project managers face a persistent challenge: delivering reliable, scalable, and future-ready intrusion detection systems that perform consistently under real-world conditions—while keeping false alarms, installation complexity, and long-term service costs firmly under control. Traditional keypad-based alarm panels are no longer sufficient. Modern homeowners expect intuitive operation, seamless smart-home integration, and resilient communication paths that ensure alarm signals reach the monitoring center even during power failures or network outages.
This is precisely where a modern touchscreen alarm control panel for home becomes a decisive advantage. Acting as the central intelligence hub of the burglary alarm system, it combines a responsive capacitive touchscreen, high-resolution display, and native support for wireless sensors, cellular and Wi-Fi communication, and smart-home protocols such as Z-Wave and Zigbee. However, selecting the wrong panel can quickly undermine a project—leading to compatibility conflicts, excessive on-site programming time, and end users who struggle with everyday operation.
As a long-time professional in the intrusion alarm industry, with decades of hands-on experience specifying and deploying panels across thousands of residential installations—from individual homes to large multi-unit developments—I have seen projects succeed or fail based on this single component. This guide is grounded in real-world deployments, manufacturer specifications, and field-proven best practices. Its purpose is to equip you with practical, actionable insight: how to avoid common procurement mistakes, execute clean and repeatable installations, streamline programming for volume deployments, and resolve issues before they erode margins or client confidence.
Whether you are sourcing panels for new construction, retrofitting existing homes, or upgrading aging systems, mastering the touchscreen alarm control panel for home will elevate your projects from merely functional to genuinely exceptional—driving higher customer satisfaction, fewer service calls, and stronger long-term relationships.
Why Touchscreen Panels Are Transforming Residential Burglary Protection
Legacy fixed-keypad panels—with cryptic LED indicators and minimal feedback—frequently contribute to user error. Forgotten codes, accidental alarms, and routine bypassing of zones due to frustration are common outcomes. A well-designed touchscreen alarm control panel for home, by contrast, fundamentally improves usability and system interaction.
Key benefits include:
- Intuitive graphical interface Large, high-resolution capacitive touchscreens—typically 7 inches or larger—present system status at a glance: armed or disarmed state, open zones, sensor battery levels, and, on advanced models, live camera feeds. Many panels now include integrated cameras for disarm verification, Bluetooth-based auto-disarming, and clear voice prompts.
- Significant reduction in false alarms Visual cues and step-by-step prompts guide users through arming modes, entry and exit delays, and bypass options. This dramatically reduces user-generated errors, which account for the majority of residential false dispatches. Enhanced sensor technologies—such as pet-immune motion detectors and refined glass-break algorithms—further reduce nuisance alarms.
- Scalability for professional projects Modern panels support dozens or even hundreds of wireless zones, making them well suited for larger homes, phased developments, or future expansion without additional wiring. Encrypted long-range technologies, such as PowerG, deliver reliable transmission at distances approaching a quarter mile in open environments.
- Built-in communication redundancy Dual-path signaling—typically cellular combined with Wi-Fi or Ethernet—ensures alarm delivery during power outages or ISP failures. Integrated battery backup is essential for meeting UL and similar monitoring standards.
- Smart-home and automation integration Native support for Z-Wave Plus, Zigbee, or proprietary ecosystems allows control of locks, lighting, thermostats, and garage doors from the alarm interface. In many homes, the alarm panel now serves as the primary smart-home controller.
For bulk deployments, these advantages translate directly into fewer callbacks, smoother handovers, and expanded opportunities to upsell environmental sensors such as smoke, carbon monoxide, and flood detection.
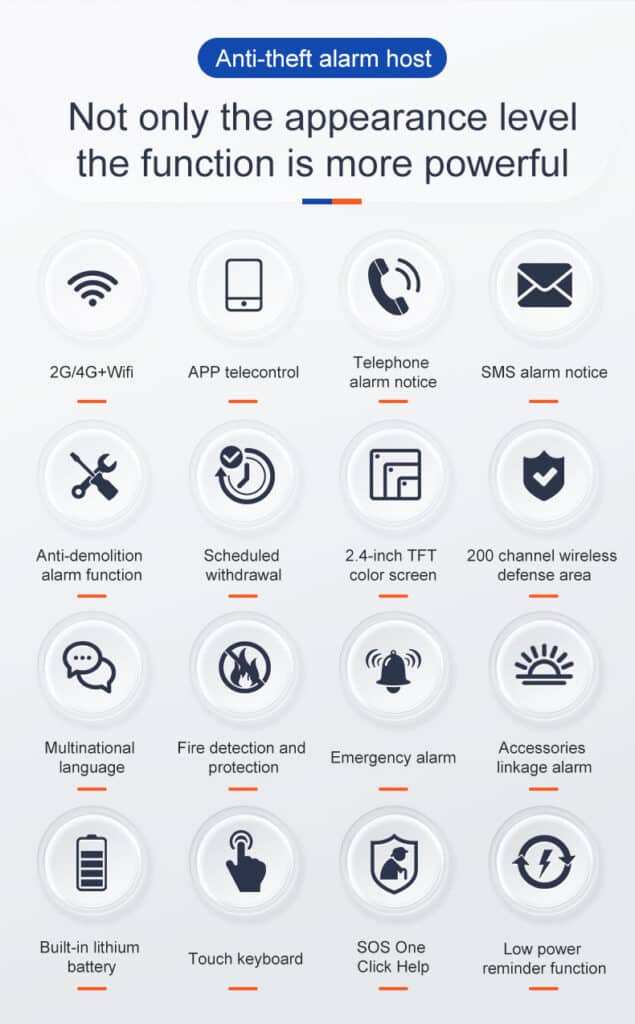
Critical Selection Criteria: What Professional Buyers Must Evaluate
Choosing the right touchscreen alarm control panel for home is not about chasing trends—it is about matching technical capabilities to project realities. The following framework reflects evaluations of numerous panels across multiple manufacturers.
- Display quality and usability
- Capacitive touchscreens are preferred for durability and responsiveness.
- A minimum 7-inch HD display with anti-glare coating ensures readability in bright entryways.
- Customizable standby screens, voice guidance, and two-way audio improve accessibility and end-user acceptance.
- Wireless performance and zone capacity
- Support for at least 100 wireless zones accommodates larger residences and future expansion.
- Compatibility with encrypted protocols such as PowerG, 345 MHz, or 319.5 MHz ensures reliable, long-range communication.
- Dual-receiver designs are valuable in retrofit projects, allowing reuse of legacy sensors and reducing replacement costs.
- Communication reliability
- Integrated or modular LTE cellular communication with Wi-Fi backup is now a baseline requirement.
- “Crash-and-smash” protection ensures alarm transmission even if the panel is attacked during entry delay.
- Battery backup should provide at least 24 hours of runtime, with 48 hours preferred in outage-prone regions.
- Smart-home protocol support
- Z-Wave Plus (500-series or newer) for stable mesh networking.
- Zigbee or Bluetooth for compatibility with voice assistants and select ecosystems.
- Avoid closed platforms if clients value flexibility; emerging Matter support is worth monitoring.
- Intrusion-focused security features
- Encrypted sensor and panel communication to mitigate jamming or replay attacks.
- Partitioning for multi-area homes or guest suites.
- Optional biometric or Bluetooth-based disarming for keyless convenience, where appropriate.
- Procurement and lifecycle considerations
- Relevant certifications such as UL 985 or UL 1023.
- Dealer portals, documentation quality, and responsive technical support.
- Over-the-air firmware updates and a minimum three-year warranty.
- Bulk cost planning: retail panel pricing typically falls between USD 300 and 600, with volume discounts of 10–30% common for larger orders. Monthly communication fees and monitoring partnerships must also be factored into total cost of ownership.
Field-proven platforms in late 2025 include the Qolsys IQ Panel 4 series, 2GIG Edge, Resideo/Honeywell Home ProSeries, and select DSC wireless offerings. Regardless of brand, always request sample units for compatibility and bench testing before committing to volume purchases.
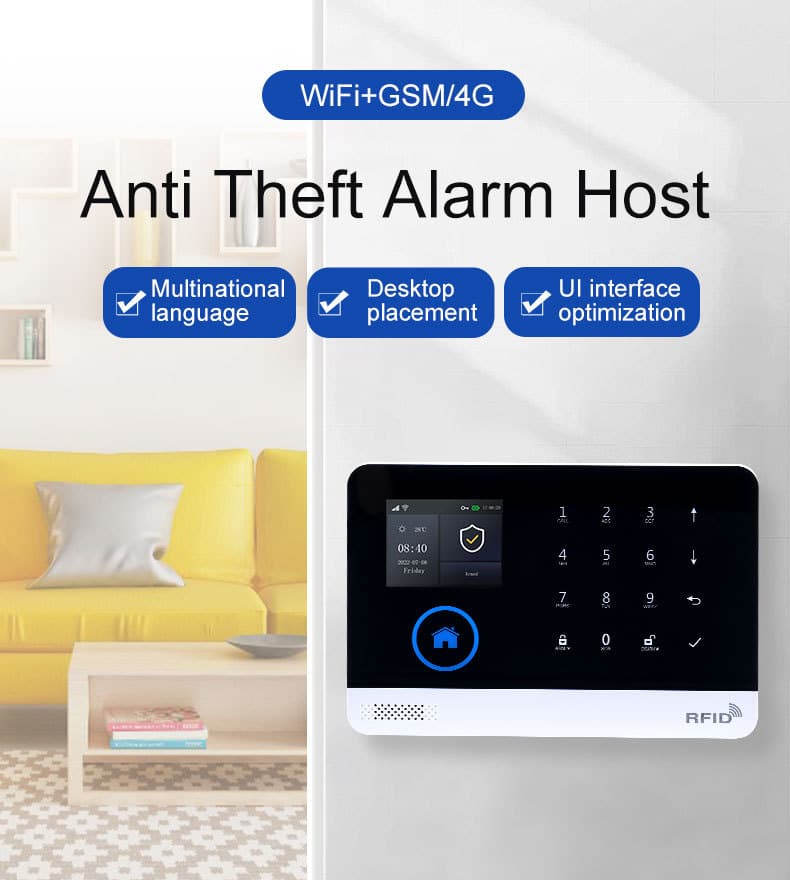
Cybersecurity Best Practices for Connected Panels
As alarm panels become more connected, cybersecurity is no longer optional. To protect residential deployments:
- Replace default installer and user codes immediately.
- Enable two-factor authentication on all associated mobile applications.
- Use strong Wi-Fi credentials and, where possible, segregate the panel onto a dedicated or guest network.
- Keep firmware current to address newly discovered vulnerabilities.
- Disable unused features and review dealer account access regularly.
- Specify encrypted communicators for all monitored installations.
Step-by-Step Installation Guide for Consistent Results
Installation quality directly affects system reliability. A disciplined, repeatable process minimizes issues across multiple sites.
Required tools: standard hand tools, level, drill, smartphone for app configuration, multimeter, and signal-strength utilities.
1. Site survey and planning
Select a central, accessible location near the main entry, away from heat sources, direct sunlight, and RF interference. Verify strong cellular and Wi-Fi signal strength. Plan sensor placement to cover all accessible openings and interior paths of travel.
2. Physical mounting
Secure the backplate using appropriate anchors, ensuring the tamper switch engages correctly. Confirm the panel is level and stable.
3. Power connection
Connect the AC transformer to a non-switched outlet and attach the backup battery, observing polarity. Allow the battery to charge fully before final testing.
4. Network configuration
Join the Wi-Fi network through the on-screen menu and activate the cellular communicator. Test failover by temporarily disabling Wi-Fi.
5. Sensor enrollment
Enter installer mode, enroll each sensor, assign appropriate zone types and names, and verify signal strength and supervision.
6. User setup
Create master and secondary user codes, enable duress options, and configure any keyless disarming features.
7. System testing
Test all arming modes, siren output, communication to the monitoring center, and any automation routines.
8. Client handover
Demonstrate daily operation, mobile app usage, and emergency functions. Provide concise documentation and support contact information.
A typical residential installation with 10–15 sensors can be completed in under 90 minutes when properly planned.
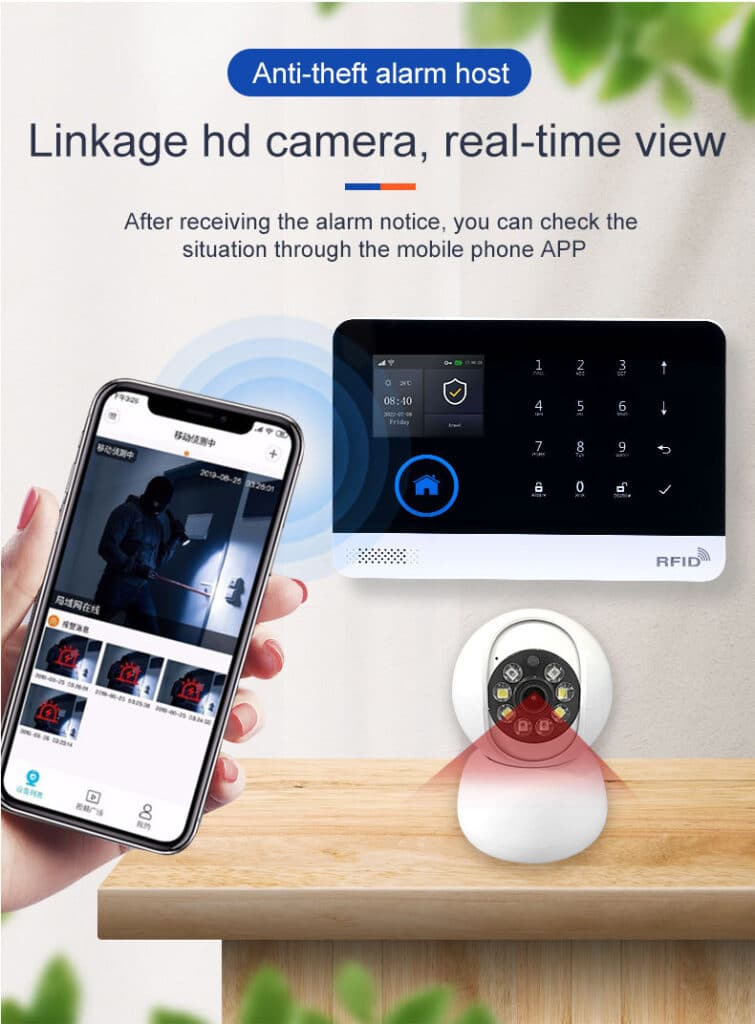
Advanced Programming for Bulk Deployments
Efficiency at scale requires standardized programming practices.
- Use dealer portals and remote programming tools whenever possible.
- Create reusable configuration templates for common layouts.
- Enable automatic firmware updates and remote diagnostics.
For example, optimizing entry delays to reduce false alarms involves balancing convenience with security—often settling around 45 seconds for primary entry doors, combined with clear audible prompts.
Troubleshooting Common Field Issues
Most issues can be resolved quickly with a structured approach:
- Display or touch issues: power-cycle the panel, inspect internal connections, and verify firmware.
- Communication failures: check signal strength, network settings, and cellular activation.
- False alarms: inspect sensor alignment, replace low batteries, and address environmental factors.
- Automation problems: re-include smart devices and heal the Z-Wave network as needed.
Document all findings and clear system logs after resolution.
Integration and Future-Proofing
To maximize long-term value, leverage the panel’s role as a central hub. Integrate smart locks, lighting, and notifications that enhance both security and daily convenience. For professional projects, prioritize platforms with open APIs, legacy-sensor support, and clear upgrade paths to protect client investments.
Conclusion: Delivering Superior Residential Intrusion Protection
Selecting and deploying the right touchscreen alarm control panel for home is not simply a technical decision—it defines the reliability, usability, and reputation of the entire security project. By focusing on intuitive design, robust communication, strong cybersecurity, and disciplined installation practices, you can deliver systems that homeowners trust every day.
When executed correctly, these panels reduce service calls, strengthen client relationships, and position your organization as a true authority in residential intrusion protection.